How to Make Your Shirt Logos Look Professional and Crisp

A clean logo on a shirt can make a big impact. It shows quality. It builds trust. It makes your brand stand out. But getting that crisp look is not always easy. Many people struggle with messy edges, loose threads, or uneven shapes.One key step is to learn how to Digitize Left Chest Logo for Embroidery. This step helps your design stitch in a clean and neat way. A good setup makes sure your logo looks sharp on fabric. Without this, even a nice design can look poor.
Why Logo Quality Matters
A logo is not just a design. It shows your brand. It tells people who you are.
First Impressions Count
People notice your logo first. A clean logo looks strong and trusted.
Builds Brand Trust
Good embroidery shows care. It tells people you value quality.
Helps You Stand Out
A sharp logo makes your shirt look premium.
Understanding Left Chest Logo Placement
Left chest logos are very common. They are used on shirts, polos, and jackets.
Standard Placement Size
The logo should not be too big or too small.
Ideal Size Range
- Width: 3 to 4 inches
- Height: 2 to 3 inches
Placement Position
The logo sits on the upper left side.
Placement Tips
- Keep it balanced
- Align with the shirt center
- Avoid placing too low
Choosing the Right Logo Design
Not all logos work well for embroidery.
Keep It Simple
Simple designs stitch better.
Good Design Features
- Bold lines
- Clear shapes
- Less detail
Avoid Too Much Detail
Tiny details may not show.
Problems with Complex Designs
- Blurry edges
- Lost detail
- Thread breaks
Best Fabric for Clean Logos
Fabric choice affects your result.
Stable Fabrics Work Best
These fabrics hold stitches well.
Recommended Fabrics
- Cotton
- Polyester blends
- Pique fabric
Avoid Stretchy Fabric
Stretch can distort your logo.
Picking the Right Thread
Thread plays a big role in quality.
Use High-Quality Thread
Good thread gives smooth results.
Best Options
- Polyester thread
- Rayon thread
Match Thread Color Well
Choose colors that match your logo.
Needle and Machine Setup
A proper setup is very important.
Choose the Right Needle
Use a sharp needle.
Ideal Needle Sizes
- 75/11
- 80/12
Set Proper Machine Speed
Do not stitch too fast.
Why Speed Matters
- Fast speed causes errors
- Slow speed gives clean lines
Importance of Stabilizer
Stabilizer keeps fabric firm.
Types of Stabilizer
Choose based on fabric.
Common Types
- Cut-away stabilizer
- Tear-away stabilizer
Use Extra Support
For best results, use double layers.
Smart Digitizing Tips
Digitizing controls how your logo stitches.
Keep Stitch Density Balanced
Too many stitches can cause issues.
Use Proper Underlay
Underlay gives base support.
Types of Underlay
- Edge run
- Zigzag
Adjust Stitch Direction
Good direction improves design flow.
Tricks for Crisp Logo Results
Small tricks can improve your work.
Use Hoops Correctly
Tight hooping keeps fabric steady.
Align Design Carefully
Make sure your logo is straight.
Test Before Final Stitch
Always test your design first.
Benefits of Testing
- Finds errors
- Saves time
- Improves quality
Common Mistakes to Avoid
Avoid these to get better results.
Poor Digitizing
Bad setup leads to bad stitching.
Wrong Thread Choice
Low-quality thread breaks easily.
Skipping Test Runs
Testing is very important.
Using Thin Lines
Thin lines may not show clearly.
Step-by-Step Guide to Embroider a Logo
Follow these steps for best results.
Step 1: Prepare Your Design
Keep your logo simple and clean.
Step 2: Set Up Digitizing
Adjust density, spacing, and stitch type.
Step 3: Choose Materials
Pick the right thread, needle, and stabilizer.
Step 4: Hoop the Fabric
Make sure fabric is tight and smooth.
Step 5: Run a Test Stitch
Check for errors and fix them.
Step 6: Stitch Final Logo
Once ready, stitch on your shirt.
Real Experience Insight
When I first worked on shirt logos, my designs did not look clean. The edges looked rough. Some stitches overlapped. The logo looked uneven.
I learned that I was rushing the process. I was not testing my designs. I also used cheap thread. After fixing these issues, my results improved a lot. I started using better materials. I slowed down my machine. I tested every design.
Now my logos look sharp and clean. This shows that small changes can bring big results.
How to Fix Common Problems
Problems can happen. Here’s how to fix them.
Logo Looks Messy
- Reduce stitch density
- Use better thread
Thread Breaks Often
- Change needle
- Check thread quality
- Slow machine speed
Uneven Design
- Fix hooping
- Check stabilizer
Fabric Pulling
- Use stronger stabilizer
- Adjust tension
Tips for Professional Results
Want a pro look? Follow these tips.
Keep Design Balanced
Balanced logos look better.
Maintain Your Machine
Clean your machine often.
Use Quality Supplies
Good supplies give better output.
Practice Ideas for Beginners
Practice helps you improve.
Start with Simple Logos
Use basic shapes and text.
Try Different Fabrics
See how fabric affects your design.
Test Different Settings
Learn what works best.
Building Trust with Quality Work
If you run a business, quality matters a lot.
Why Quality Matters
- Builds customer trust
- Increases repeat orders
- Improves your brand image
How to Maintain Quality
- Always test designs
- Use good materials
- Check each stitch
Final Thoughts
Making your shirt logos look professional and crisp is not hard. You just need the right steps. Focus on simple designs. Use proper tools. Test your work. Learn from mistakes.
With time, your skills will grow. Your logos will look sharp and clean. Keep practicing. Stay patient. And enjoy the process of creating high-quality embroidery.
Kategorien
Mehr lesen
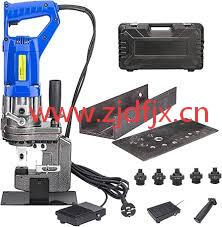
Modern manufacturing environments continue to evolve as industries pursue efficiency, precision, and adaptability in production processes. A Metal Punching Machine plays a central role in shaping metal components used across various sectors, providing consistent results while supporting diverse operational needs. Zjdfjx has gradually aligned its equipment development with these changing...
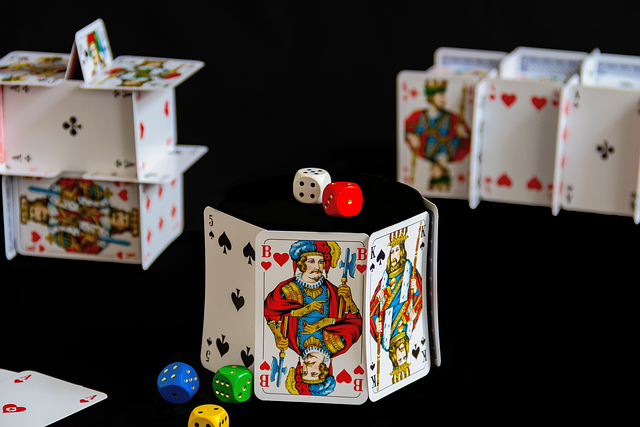
El impacto de la realidad virtual y aumentada en la experiencia del jugador en casinos en línea: tendencias y proyecciones para 2025 En la última década, la industria del juego ha vivido una verdadera revolución tecnológica que ha transformado la manera en que los jugadores interactúan con los casinos en línea....
مع التطور الكبير في عالم الطب التجميلي، أصبحت حلول علاج تساقط الشعر أكثر دقة وفعالية من أي وقت مضى. يعاني الكثير من الرجال والنساء من مشكلات الصلع أو ترقق الشعر، مما يؤثر على المظهر العام والثقة بالنفس. وفي السنوات الأخيرة، ظهرت تقنيات مبتكرة ساهمت في تقديم نتائج طبيعية تدوم لفترة طويلة. في هذا السياق، أصبحت زراعة الشعر في الرياض وجدة والمملكة العربية السعودية خياراً متقدماً لمن يبحثون...

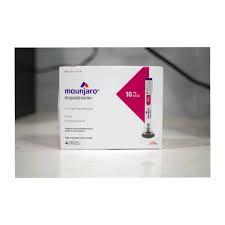
Weight gain is often linked to hormonal imbalance, slow metabolism, and disrupted appetite signals. Many individuals struggle to lose weight even with strict dieting because their hormones are not functioning optimally. Mounjaro injection in Dubai (حقن مونجارو في دبي)is a medically supervised treatment designed to support hormonal balance and assist in controlled weight loss. This...
The Platform Based Payment Gateway Market is highly competitive, driven by technological innovation, increasing online transactions, and rising demand for secure, efficient payment solutions. Businesses across industries rely on platform-based gateways to facilitate seamless transactions while ensuring data security, fraud prevention, and regulatory compliance. Companies are investing heavily...